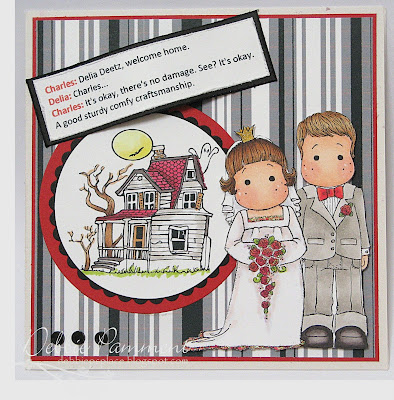
To make the wooden frame I've used on
THIS card and
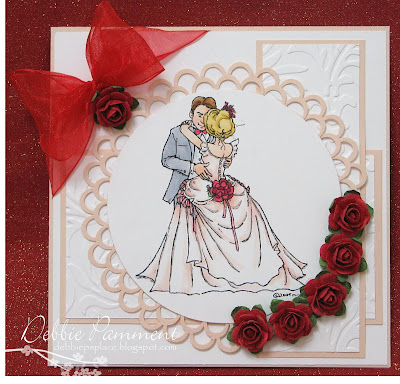
THIS card is actually fairly simple - and yet it's sooo effective! Kellie asked me to put together a quick tutorial for the
Tickled Pink Stamps Blog and I thought I'd share it here too - just in case you want to try it out for yourself.

All the supplies I've used are from Stampin' Up - so if you don't have these colours you may have to experiment a little!
Supplies:
More Mustard Card Stock
Inks - Chocolate Chip, Close to Cocoa (retiring soon!), More Mustard and Whisper White
Scissors
Paper Cutter
Black Pen
Start off by dragging your inks across the cardstock from one side to the other side - don't worry too much about being neat - it will just add to the wood grain look.
You'll need to use More Mustard first, then Close to Cocoa, then Chocolate Chip and then Whisper White.
Make sure you leave a little drying time between each colour otherwise the "woodgrain" lines can blend together!
You should end up with something that looks like this! Now make sure you leave a GOOD half an hour for this to dry before moving on - or use your heat gun to speed up the process - the white ink takes FOREVER to dry!!! The original tutorial I used for Faux Wood stopped here - but I felt the white needed toning down a little and popped some more streaks across it.
I used another layer of More Mustard and Close to Cocoa - in that order. If you like you can also use a dash of Chocolate Chip - it depends how dark you want your finished "wood" to be - and how heavy handed you were with the lighter colours!
So this is your finished A4 sheet of Faux Wood - you'll be able to make several frames out of this one sheet - let me show you HOW!
Start off by deciding what you want the finished size of your frame to be. For demonstration purposes this one is 1" wide and will be 5" square. So I cut 1" strips and then cut them to 5" lengths - you'll need 4 of these.
On the back of each strip number them from 1 to 4 and lay them out in order.
Overlap the corners and cut diagonally across. By overlapping and keeping them in sequence the corners should fit together well - even if they aren't cut quite straight.
The first frame I made I used my hubby's set square and tried to cut nice accurate 45o angles - unfortunately they didn't fit together properly as they were all cut slightly different. I also find my method ensures I get the size of frame I want - and EASILY - we ALL like EASY don't we - LOL!
So here is your frame - just ready to be stuck together and used on your project. Just use some tape on the back to stick it together. You can also "pop" your frame up on your project with dimensionals like any other image you use - it's now a design element! Just one last thing to give it a "real" frame look...
Add some dots to the corners with a black pen to give the impression your frame had been "nailed" together.
Now that doesn't look too hard does it???? I'd LOVE to see YOUR finished project if you give this a go!
xXx
 I've used my black and clear Spica pens all over this gorgeous gal - you just can't see it in this light. I've take the picture on the left to show you how glittery she is - unfortunately the picture isn't as clear as I'd hoped but at least you get to see her sparkle! I have added some stickles to the flower arrangement for some more obvious sparkle.


