


You'll Need
- a mason jar with 2 part lid (something else I couldn't find so I ended up 3D printing one!)
- sheet of white foam
- 2 coloured images on thin paper (I used copy paper)
- all purpose sealer
- glue
- white acrylic paint
- ribbon
- stazon ink pad
- texture stamp
- gloss varnish

Since I wanted my images to wrap around the glass slightly and not have a high profile, I decided to print them onto copy paper and colour. I used my copic markers but you have to have a lighter touch on copy paper to prevent the ink bleeding too much. I wanted an image on both the front and the back of the glass so I coloured up 2.
I then sealed my images with an all purpose sealer on both the front and the back, allowing to dry in between. I have skipped this step in the past but the images became transparent when I varnished them and the background pattern showed through! Cut out your sealed and dried images.
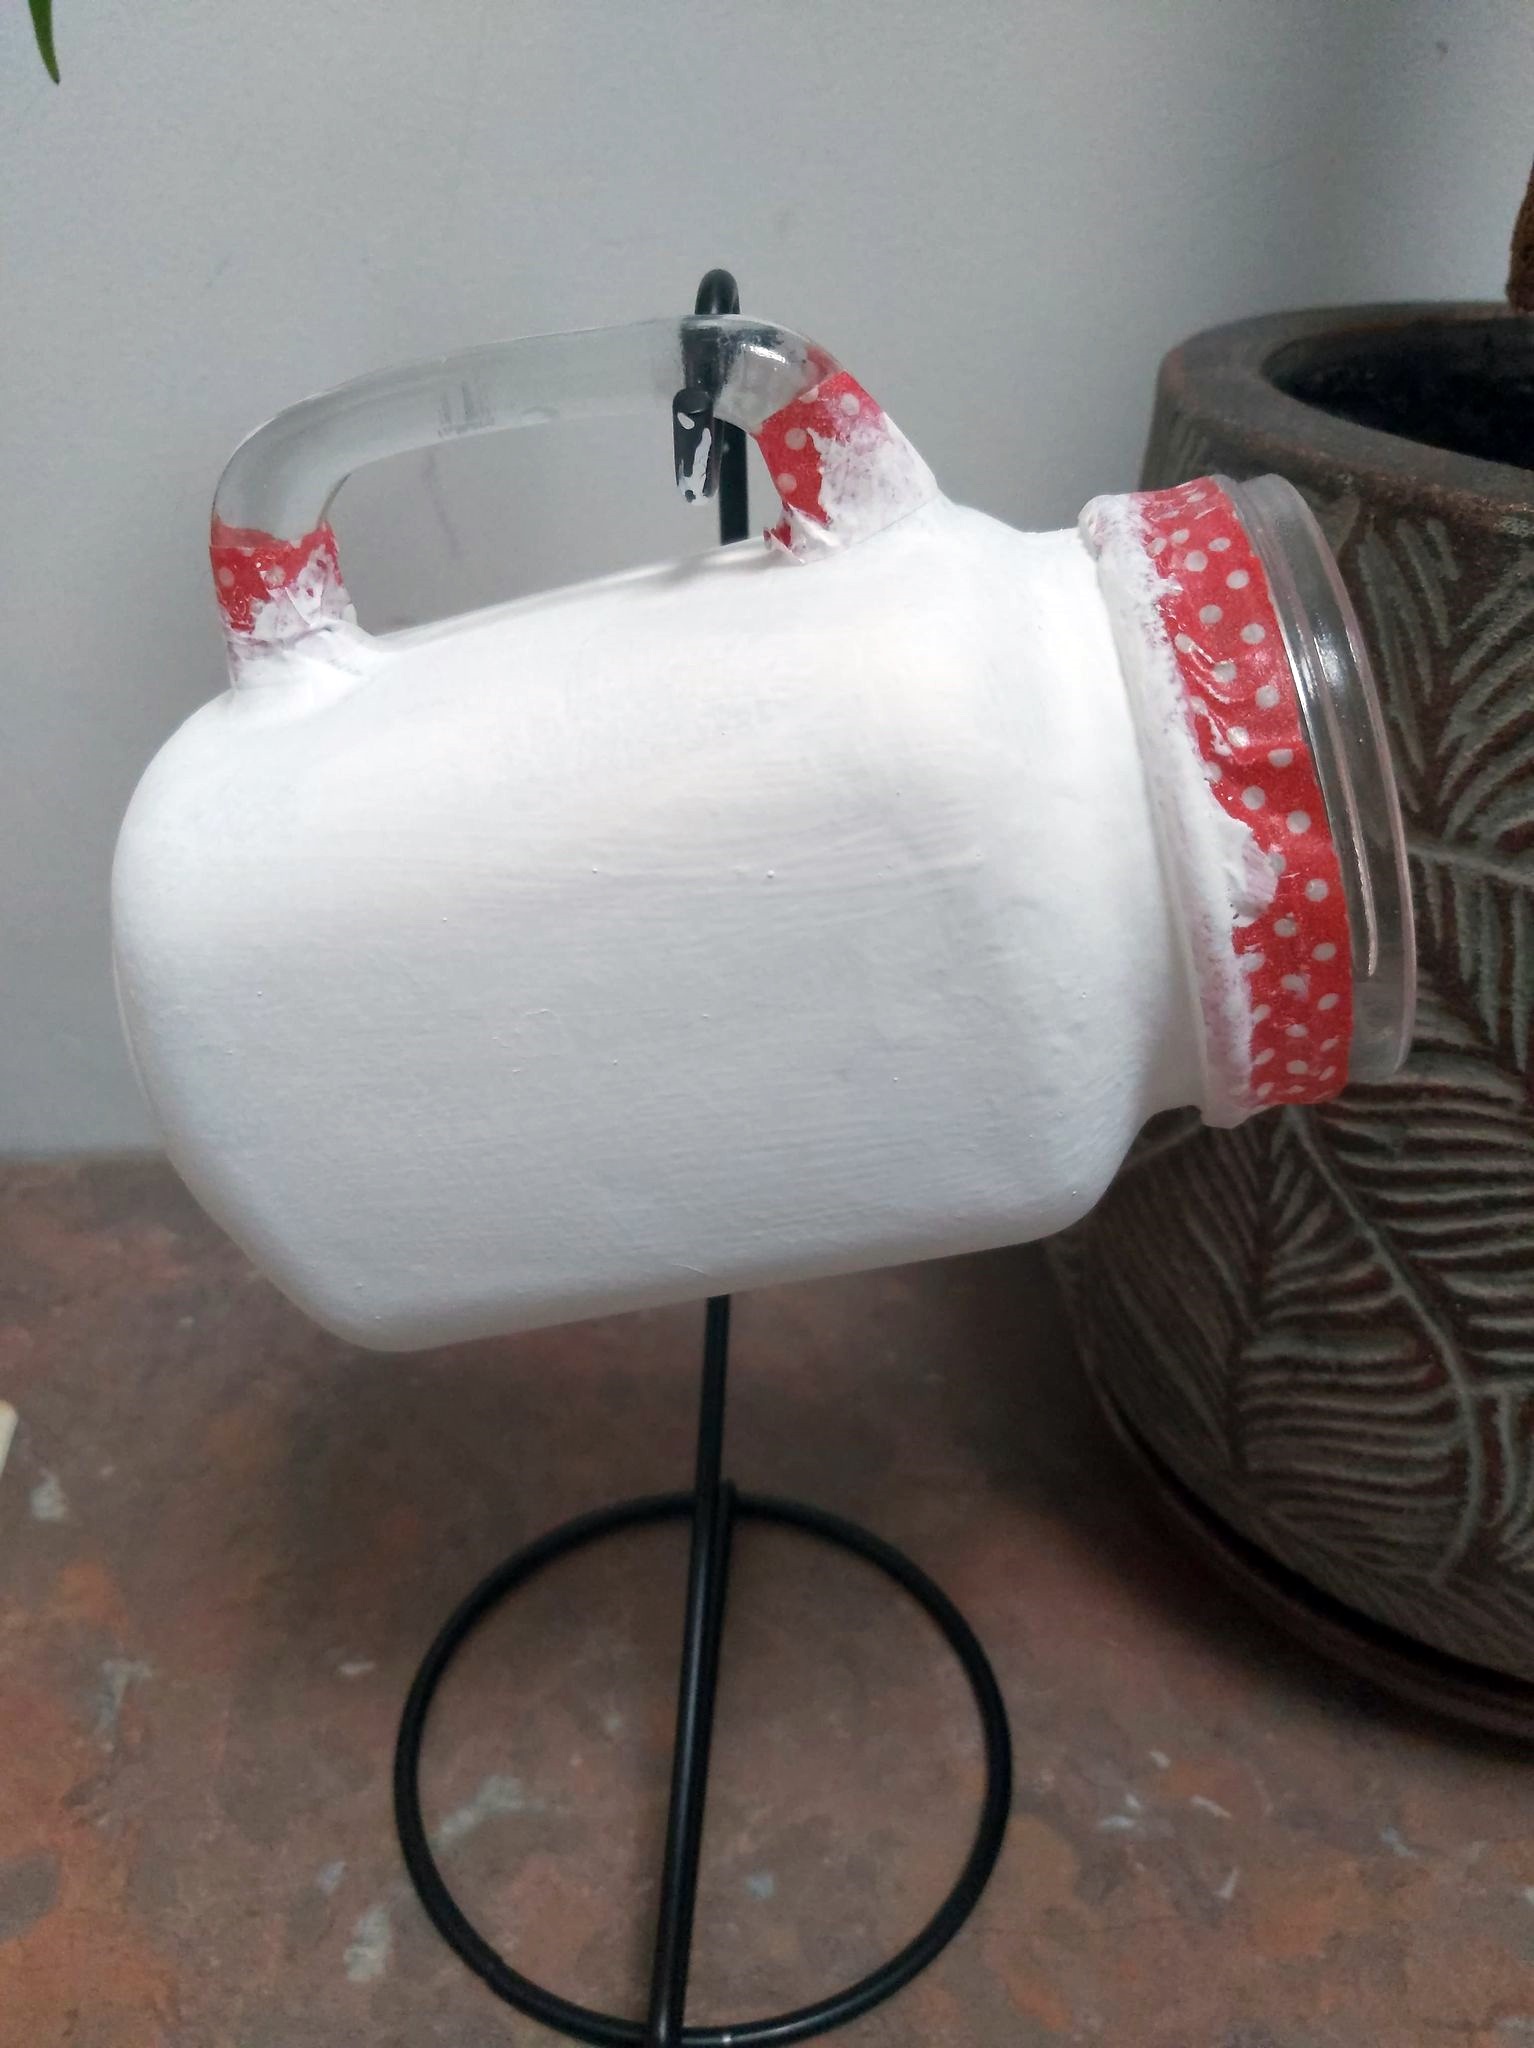
Tape off the rim and handle of your jar before sealing and painting. I sponge my first coat of paint on the give it some grip for the subsequent coats. Carefully remove the tape and stamp on a pattern using stazon ink if you wish.

Glue your images onto the front and back of your jar - making sure they don't lift. Once dry add several coats of clear varnish.

Once I cleaned up my printed lid I cut a circle of white foam to fit inside it. Before gluing it in place cut a cross in the foam to allow the tissues to come out while providing a dust cover for the rest - see image above.
Decorate the rim of the jar before loading with tissues and attaching the lid.
I used this YouTube video tutorial to load the tissues into my jar.
I hope you enjoyed this and....
Bless you ;)


1 comment:
What a gorgeous project this is, looks great! Thank you for sharing. Have a beautiful weekend.
Love, Wilma.💐
Post a Comment